Strony

Happy Mail!

Tuesday, September 11, 2012

A happy day here for me!  So happy you had a moment to share it with me!  I'm such a lucky gal to be posting my first project for the Creative Paper Trade blog today...so blessed to have the opportunity to work with Andrea, her delighful products, and the rest of this fun team!  While we have lots of fun challenges in the works (starting next week!), this first introductory project was a 'free for all' shall we say...we got to do whatever our little hearts desired.  So I came up with a fun little gift for my daughter...a way to surprise her with some happy mail and little love notes on a regular basis with this little jean pocket 'mail bag'...


I had been saving some old jeans of my son's for the perfect project, and in pouring over my box of goodies from Andrea...this little idea came to me.  After dressing out the stitched up pockets (I used some of Andreas cute fabric trim for that) and including a ribbon for hanging, I thought I could use the sweet journaling notes from the 'Take Notes' set just as they were to write some sweet little notes and create some 'happy mail' for my baby girl.  She's in 2nd grade now, so she should be able to read about anything I would want to write to her...


I created some sweet little envelopes out of Andrea's pretty patterned papers (so many pretty ones to choose from!) to 'mail' the notes in.  I had originally and very quickly altered the size of the note cards before printing, to fit my Stampin' Up envelope template, but later decided the original larger size of the card was more in proportion to my pocket and gave me more space to write.  I then just enlarged the envelope template on my copier to fit the cards.  (It is nice to know, though, how quick and easy it is to change the size of the images to meet your needs.  If you have any questions about that, just holler!!)


(I've used some PTI stamps on the little labels on the front.)  I want to be able to re-use my envelopes a few times, so rather than use stickers or adhesive...I used the little circular images off the note cards to embellish some cute paper clips to close them up...


I don't know...I think those may be my favorite part of the project!  PTI dies were used to make the flower behind (as well as the butterflies on the picks up top in the pocket), using more of Andrea's papers!  The little 'Happy Mail' banner/flag in the pocket was made from a sweet digital set called 'Let it Fly'.  A few of the banners in this set are left blank like the one I've embellished, but others already have some sweet sentiments printed on them...cute, CUTE set!!  I'll put that little flag in the pocket to let Jillian know some happy mail has been delivered.  Otherwise...she'll have the cute little butterflies hanging out, keeping her company.  Call me crazy, but I think she'll love this!  Her 8th birthday is later this month, but thank goodness, for now, she's grown back into the 'pretending stage'...enjoying her baby dolls again...playing 'restaurant'...so I think she'll LOVE getting her own 'mail' on a regular basis.  I think it will help me focus on giving her some special positive feedback on a regular basis, too!  I do have a concern, though...I'm concerned I may have to make a couple more for her bigger, older, tougher brothers once they see her getting all this 'happy mail' from mom! (Then their dad and I will need one so they can write us back...!!!) Oh well, worse things have happened!!!
OK...I've taken up way too much of your time!  Thanks for visiting and hangin' in here with me!  Don't forget to go comment at the main blog, HERE, for your chance to enter for today's 2 free digital packs from Andrea's shop.

~Geri~

Meet my friend, Lisa...and a peek!

Monday, September 10, 2012

Good morning all!  I'll be quick!  Wanted to take a moment to introduce you to another sweet face...

Lisa is also on the team with me over at the Creative Paper Trade!  She's doing Andrea and the team the pleasure of helping to coordinate this new venture and all the behind-the-scenes details that will keep the blog hopping along smoothly! She has shared her project there, along with a few fun facts so that we all can get to know her a little better! Here's a peek...


Lisa has dolled up her projects with some of Andrea's sweet little felt embellishments and some of the sweet digital tags, notes, and banners offered in her shop.
Here's a peek of mine, a fun little gift for my daughter, which will be shared on the blog tomorrow...


Every pretty little color and pattern you see here, (except for the label stamped on the front of the tiny envelope) are from digital packs from Andrea's shop.  I can't tell you how much fun it is mixing and matching these pretty colors and patterns that work together so sweetly!  And remember....at the end of this introductory week, random winners will be named from each day's comments to receive 2 digital packs each, along with a big winner who will receive some of Andrea's sweet embellishments!  So what are you waiting for...you don't need to comment here...just git over there and participate!  (And I see some of you sweet friends of mine already have!  Thank you, girls!!!  You know who you are, and I appreciate each of you!)

Thanks so much for popping in!!

~Geri~


~A friendly face...a friendly new creative space...

Sunday, September 9, 2012

Hello, sweet friends!  Hope this Sunday is a happy one for you!  It is the most beautiful day here in Brazil, IN...a wonderful day to introduce you to a wonderful and talented friend of mine!  I'm sure many of you already know her...

Several months ago, I checked out a project Andrea linked up to one of PTI's monthly blog hops, and was instantly hooked on her lovely and unique style and began following along...not wanting to miss out on even a bit of her inspiration.  If you already know her, I'm sure you'll agree...she is one very talented gal.  And I can't even begin to list all that I've seen her accomplish and crank out during the last month in preparing a brand spankin' new creative space in blog-land for all of us to enjoy! The Creative Paper Trade... 


When she put out the word that she was ready to bring on a design team to showcase her  Etsy products...sweet hand made embellishments, and more recently, digital paper and tag packs to match those embellishments...I was ON IT with my reply!  I was later dee-lighted when she emailed and had so sweetly agreed to allow me to be on her team.  On behalf of Andrea and the team, here is just a glimpse of some of her products in action...


I don't want to keep you, but you'll want to visit The Creative Paper Trade today for information on what will be going on this week to kick off the new blog...one full of inspiration (3 posts per week!!), fun challenges, free digitial images to play with, give-aways, and just lots and lots of creative fun!  Andrea has encouraged the team offer our own ideas of what to incorporate into the blog to make it something really special and fun for everyone, and I hope that is just what we've come up with!  Can't say how much fun it has been to be a part of  (or how much fun I've had playing with her products!!!)

We've got great things in store...I do hope you'll join us!!!

~Geri~


PTI August Blog Hop

Saturday, August 25, 2012


My gosh...has another month zoomed by getting us closer to Fall?!?  It appears so, as Fall textures are the theme of this month's PTI Blog Hop.  I hope I'm staying true enough to the inspiration this month as Fall doesn't really speak wool, tweed, and houndstooth to me just yet...give me a few months!  Friday nights at our High School football games to watch our son perform with the band as the sun sets and temperatures cool down, means blue jeans, tees and hoodies where I come from.  You can tell those kids couldn't wait to put their new jeans on.  They don't make 'em like they used to, ya know?...Those embellished pockets make quite the fashion statement any more!  So anyway, with my card I was thinking...teenage girl...Fall birthday...and LAYERS...I DID try to incorporate lots of textures and fabrics into my design...


I was inspired by Melissa Phillips' flowers die cut out of knit material awhile back.  Hers were so cute...the way the knit material ruffles up and twists...HAD to try it...and HAD to incorporate denim!  I used a couple of the Beautiful Blooms dies for these, (and one Notched Flower die) and old tees of the kids in the best Fall colors I could find.  The leaves were just hand cut from an old green two-toned sweater, and stitched up the center.  The bow is just made from raveled burlap.  I also cut an area from the inseam of the old jeans I had saved, and trimmed away the raw edge so only the finished edge showed to create a pocket to fill with some fun layers...back-to-school and 'Friday night football' style layers...


...tickets...notebook papers...The pocket is a working pocket and I thought it would be fun to be able to tuck a gift card inside among the layers (although there's not one in there yet).


So, anyway...there she is!  A bit of a fussy card???...yes...but fun to make???...YES!!!  Hope maybe it has given you a few ideas, and hope you can appreciate it even though my colors and textures don't necessarily look like those in the inspiration.  Sure do appreciate you stopping by!!  I haven't even looked at the list yet, but I'm sure there are a b-zillion to visit!  Hurry along...hope I didn't take too much of your time!!
~Geri~

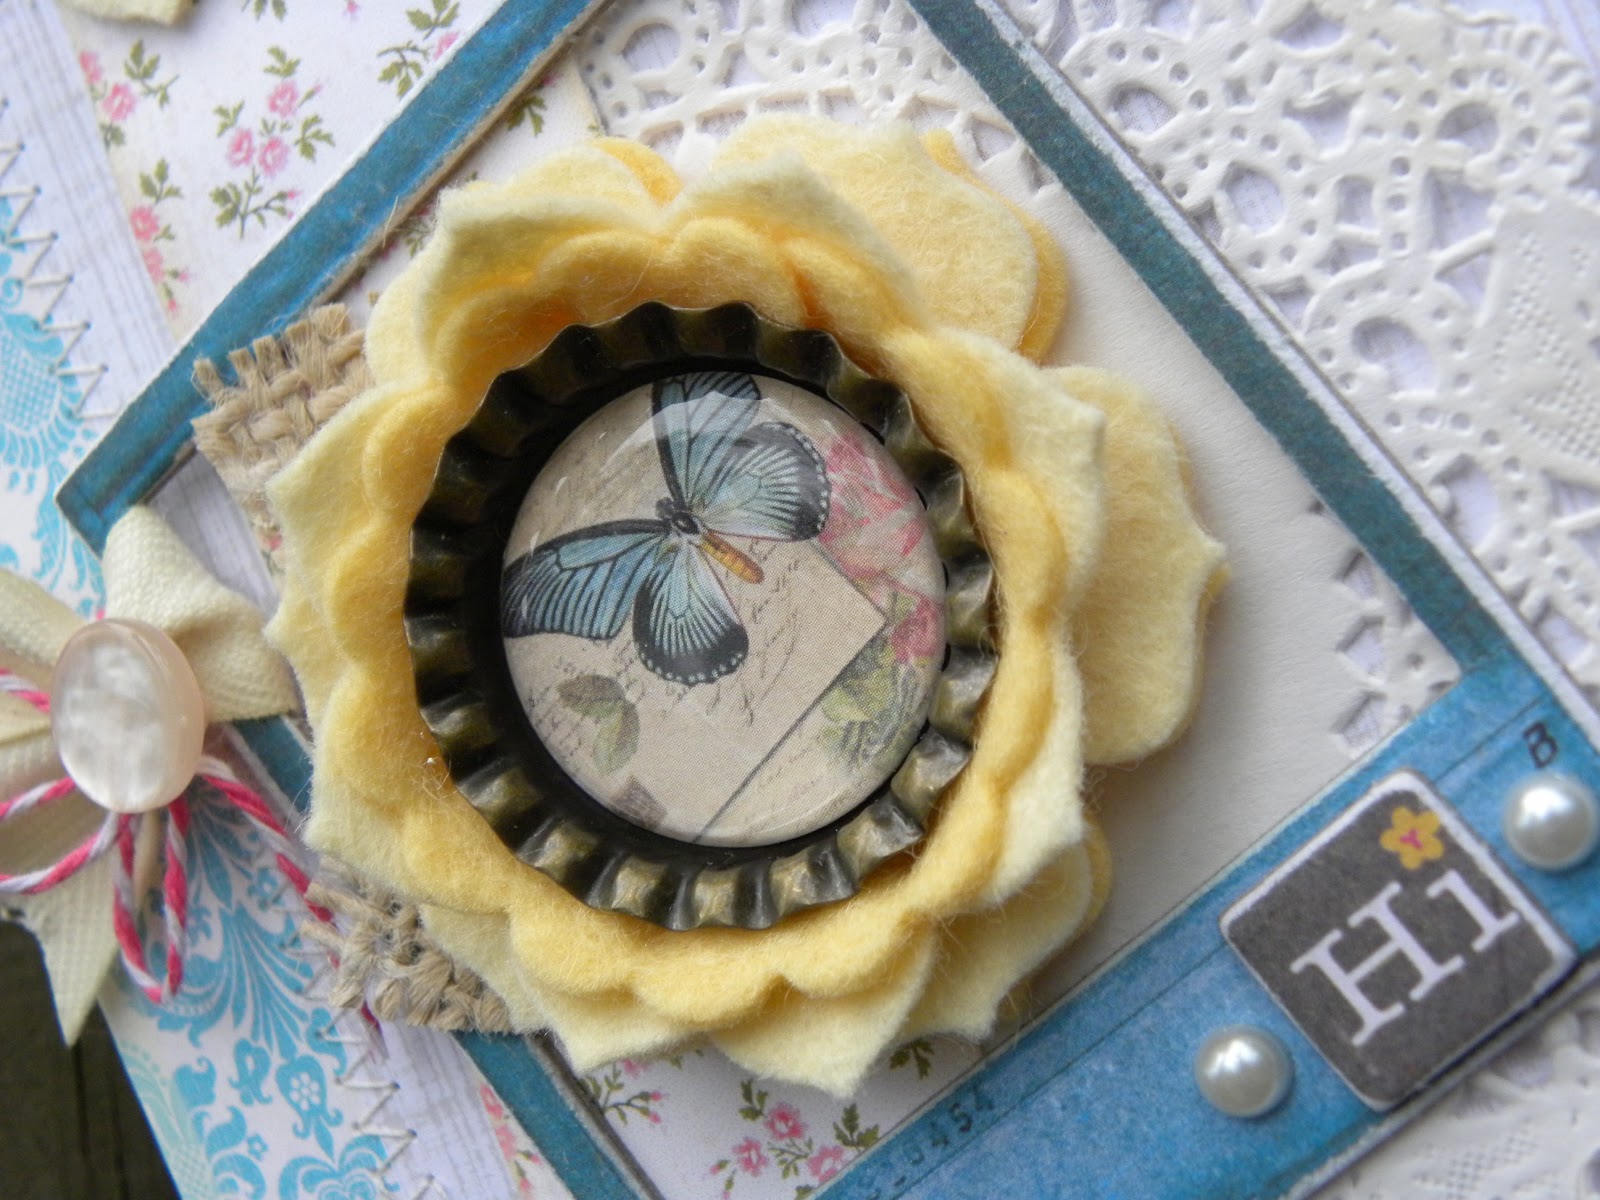
Will you shoot me if I share another bottle cap blossom????

Sunday, August 12, 2012

Just ONE more??? (well, I can't promise anything!;)  Guess I'm hooked...they're too fun!  However...lucky for you...I'm out after this one!  (But I WILL be getting another package next trip to town I make!)  Another pretty little Crafty Secrets (Mini Creative Scraps) image in the center...they're just perfect for these...


For the first row of petals, I used the little humps of the tiny hearts from PTI's little heart border, and used the points of the heart border with a lighter color of felt for the second row.  Then just layered that onto the same 2 colors of the PTI's largest Beautiful Blooms flower die.  Kinda like how this little blossom came together!

And, on this card I was able to use some of my pretty papers from Crafty Secrets 1st CD.  My computer (old and full of junk) was not opening the images on my CD for awhile (grrrrr), but I tried again a couple days ago and it seems to have decided to cooperate again!  Yeah!! I also used a few little Crate Paper chipboard pieces and a little sentiment from CS' Card Sentiments set...


This was a fun little card to make and came together fairly quickly.  Hope you like!!
Thanks for popping in!!
~Geri~

...a little more bottle cap love...

Friday, August 10, 2012

Another little bottle cap blossom on a card for my dear friend, Susan...
This one's a soft, shabby one with a sweet little Crafty Secrets image...(Mini Vintage Creative Scraps)


The pretty sentiment is from Crafty Secrets, also...(Grand Greetings)


And here's the card...


I had fun embellishing the bag to put the birthday goodies in with a big tissue flower...


And I guess that's all!  It's late and I'm so, so tired, so I'm keeping this one short (lucky you)!  I'm linking this up in Crafty Secret's August Linky Party.  Head over and see if there is still time to play!!
Have a great weekend!
And thanks so much for visiting!!


Better put your shades on...

Thursday, August 2, 2012


...this one's a little bold, bright and sassy!  But I like it and had so much fun making it! I've been fiddling with bottle caps...using them with felt and fabric to make some flower embellishments...I used some bright felt on this one and thought...'now, what in the world will I do with this critter?!?'  I decided the perfect home for it would be on a card for my daughter's best buddy's birthday! You know little girls...they love the bold and the beautiful!
 
 I have a whole ball of some vintage trim my neighbor picked up for me (second-hand).  It reminded me of the little stamens in the center of flowers, so I dyed some yellow for fun.  Let's just say the color took well. (nice and bright!) The first thing I found that it didn't over-power was my fuchsia felt...so I cut a few PTI flowers (and cut them up a little more before re-assembling) and formed the blossom.  In the center of the bottle cap are a couple PTI Tiny Tag images.


The little scallops on my card were so much fun and were a result of a Pinterest card that I was SURE I re-pinned (I can see it in my little mind!)...but it's not on my board :(  It's not a new idea, but one I haven't used in forever, and the card I saw was a nice reminder of how fun it is for each little scallop to be different...cute look, I thought! Cheery, too!


I've used all kinds of papers on this one, but the little Bingo card, and the gingham and tiny rose patterned papers in the scallops are from Bety's Etsy shop, HERE. Such a fun card to make!  If you like the bottle cap flower,...stay tuned...another card using one is on it's way...


Thanks so much for taking the time to visit today!!
~Geri~